Source: Themeisle
When discussing web content management, WordPress comes top of mind. Powering 40 percent of all websites in 2021, WordPress is the king of content management systems (CMS). Despite its popularity, the platform does have its problems. Older versions of WordPress made it difficult to build media-rich pages, didn’t provide a WYSIWYG experience, and were not screen reader-friendly.
To make the editing experience more accessible and user-friendly, the WordPress development team introduced the block editor in December 2018. Also known as Gutenberg, the WordPress block editor has undergone tremendous changes since its launch to make it a platform that everyone can use. In this post, I’ll explain how Gutenberg works and walk you through its new accessibility features.
Table of Contents
What is the Gutenberg Editor?
Gutenberg has replaced the TinyMCE editor as the default WordPress editor. You don’t have to use Gutenberg if you don’t want to. WordPress offers a classic editor plugin to download and install for users that still prefer the old-school CMS. Despite the availability of the older option, more than 46 percent of WordPress users have switched to the new block editor.
The new Gutenberg editor is built with modern technologies, providing a completely different approach to creating web content. Instead of using plugins and custom code to develop web content, the WordPress block editor relies on blocks for building and designing web pages. These blocks allow you to develop multimedia-heavy pages without much technical knowledge.
How Does the Gutenberg Editor Work?
Now that you know Gutenberg is a block-based editor, you’re probably wondering how block editors work. The new WordPress editor is basically a drag-and-drop content editor. Instead of using freedom text, inserted media, and shortcodes to build a web page, you can use intuitive components/blocks to easily create, reposition, and style different types of content.
Gutenberg offers a range of specialized blocks for diverse types of content. Some of these blocks include:
- Text
- Image
- Video
- Audio
- Quote
- Columns
- List
- File
After selecting one of these blocks from the top toolbar, you start adding content inside the component. Since every block is a separate entity, you can style each block to your liking and drag it anywhere on the editor to create a unique page layout. The WordPress block editor gives you more control, flexibility, and accessibility to build customized content.
The Block Editor’s Accessibility Features
In addition to a modular block approach and drag-and-drop functionality, the Gutenberg editor offers many other usability and accessibility features to improve the editing experience. These new features make WordPress easier to use for everyone, including screen readers users. Below, I will discuss Gutenberg’s new accessibility features and provide instructions for how to use them.
Note: If you’re using a Windows or Linux system, please use CTRL instead of ⌘, and ALT instead of ⌥ for the instructions given below.
One of the biggest issues with old versions of WordPress was that they were inaccessible to screen reader users. More than 7.6 million American adults have visual disabilities and use assistive technologies like screen readers to access web content. To make WordPress accessible to visually impaired users, the block editor introduced the Navigation mode in 2019.
The Navigation mode not only makes WordPress accessible to screen reader users but also improves the platform’s overall usability. This new accessibility feature allows users to navigate through the editor quickly using the Tab and arrow keys. Using shortcuts to get to your desired block eliminates the need to interact with large chunks of content, which helps save time.
Use the following WordPress block editor keyboard navigation tips to make content creation a more efficient process:
If you want to access a parent or child/nested block without scrolling through tons of content, you must take advantage of Navigation mode. The latest version of Navigation mode allows users to move from parent to child blocks and back, and between child blocks. To go into navigation mode, select a block and then press the ESC key.
Once your block editor has entered navigation mode, use:
- UP or DOWN arrow key to navigate within the same level
- LEFT arrow key to go into a nested level
- RIGHT arrow key to go out of a nested level
If you want to move the selected block to another location, use the ENTER or SPACE keys to confirm the new position.
Move Blocks Between Different Levels
Source: WordPress
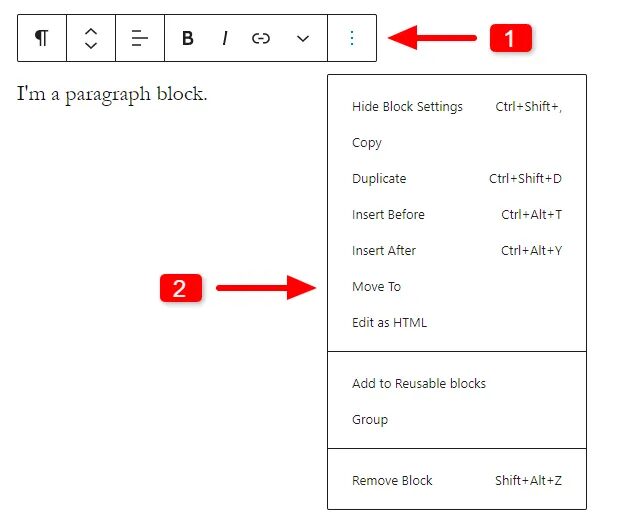
Since more and more blocks will support nesting in the future, learning how to move blocks between different levels can help you design layouts faster. One of the easiest ways to reposition a block in Gutenberg is to use the cut ⌘X and paste ⌘V method. In addition to this, the block editor offers another feature that allows you to move blocks using your keyboard.
If you want to move blocks in and out of a parent block, click on the Options item at the end of the block toolbar, and then select Move to from the menu. Use the following keys to move your block anywhere on the editor:
- UP or DOWN arrow key to move the block within the same level
- LEFT arrow key to move the block up one level
- RIGHT arrow key to move the block down one level
Once you have reached your desired location, use the ENTER or SPACE key to fix the block into its new position.
Keyboard Shortcuts
The WordPress block editor offers several new keyboard shortcuts to increase work speed and boost your productivity. These shortcuts are also an indispensable tool for screen reader users as they rely on keyboard commands instead of a mouse to get computer work done. Here are some useful keyboard shortcuts that make the new WordPress more accessible and efficient:
Move Blocks Up and Down the Page
One of block editor’s best new features, this keyboard shortcut is great for quickly moving blocks up and down the page. This feature may seem familiar to you as it is similar to an existing shortcut that inserts a new block before or after selected blocks. You can use the following keyboard commands to move both new and existing blocks.
To position a new block, select an existing block in the editor, then use:
- ⌥⌘T: To insert a new block above the selected block
- ⌥⌘Y: To insert a new block below the selected block
The keyboard shortcuts for moving existing blocks are similar to the ones above. They just add
the UP arrow key to the command sequence. To reposition an existing block, select the block, and then use:
- ↑⌥⌘T: To move the selected block(s) up
- ↑⌥⌘Y: To move the selected block(s) down
Enter Fullscreen Mode
Source: ManageWP
You will love these new keyboard shortcuts in the block editor. New functionalities for switching to fullscreen mode and hiding the settings sidebar expands screen space to help you better focus on your work. By eliminating sidebars and other discrete areas of the editor, these new shortcuts also reduce the complexity of navigating and editing content for screen reader users.
- ↑⌥⌘F: Takes you to fullscreen mode
- ↑⌘,: Hides the Settings sidebar
Usability Improvements
Increasing a platform’s usability makes it more accessible to people of diverse abilities. An effective strategy that can make a platform easier to use is to enable multiple ways of doing the same thing. The WordPress block editor provides many new usability improvements to reduce barriers to getting work done, thereby helping simplify the editing experience for all users.
Here are some usability updates that make Gutenberg more enjoyable for everyone to use:
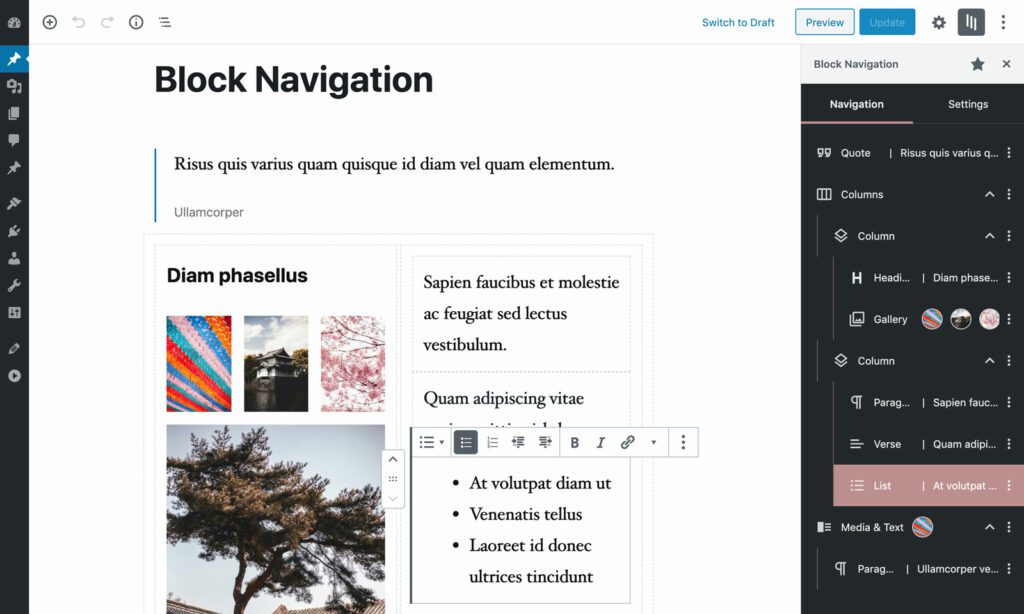
List View
The List View is an existing functionality in the block editor that is constantly being improved to make it easier to navigate and select blocks. This usability feature resides in Gutenberg’s top toolbar and displays an outline list of all the blocks used in the page. With a simple click on list items, you can jump to any block in the editor.
Older versions of List View collapsed nested blocks by default, which made it more cumbersome to access child blocks. Recent usability updates are improving the way blocks show up in the list. The new and improved List View now displays all the nested blocks inside their parent block, and shows reusable blocks by their custom name instead of generic ones.
To open List View in the block editor, select the button with three horizontal lines in the top toolbar, or use the ^⌥ O keyboard shortcut.
Breadcrumbs
Since Gutenberg is a block-based editor, WordPress is providing multiple ways to access blocks to improve the platform’s usability. Like List View, breadcrumbs is another usability feature that is designed to make it easier to access blocks nested at different levels. This new feature can come in handy when working with deeply nested blocks, such as Columns or Group blocks.
So, how can you use the breadcrumbs feature in WordPress block editor? Make use of this keyboard shortcut ^⌥ N, which allows you to quickly navigate the next sections of the editor. Keep using this shortcut to skim through blocks until you reach the end of the editor, where you should see the block breadcrumb bar at the bottom left corner of the page.
Text Labels for Toolbar Buttons
Many users find icons to be ambiguous and difficult to memorize. If you’re among those that prefer text labels instead of icons, the block editor has got that covered for you. WordPress has introduced a new usability feature that allows users to change all the icon buttons in the toolbar to text labels. This new functionality can help many users find their needed tools more efficiently.
If you want to replace toolbar icons with text labels, here’s what you need to do.
- Click on the Options menu (located at the far right of the top toolbar)
- Select Preferences
- In the Appearance section, click on Display Button Labels
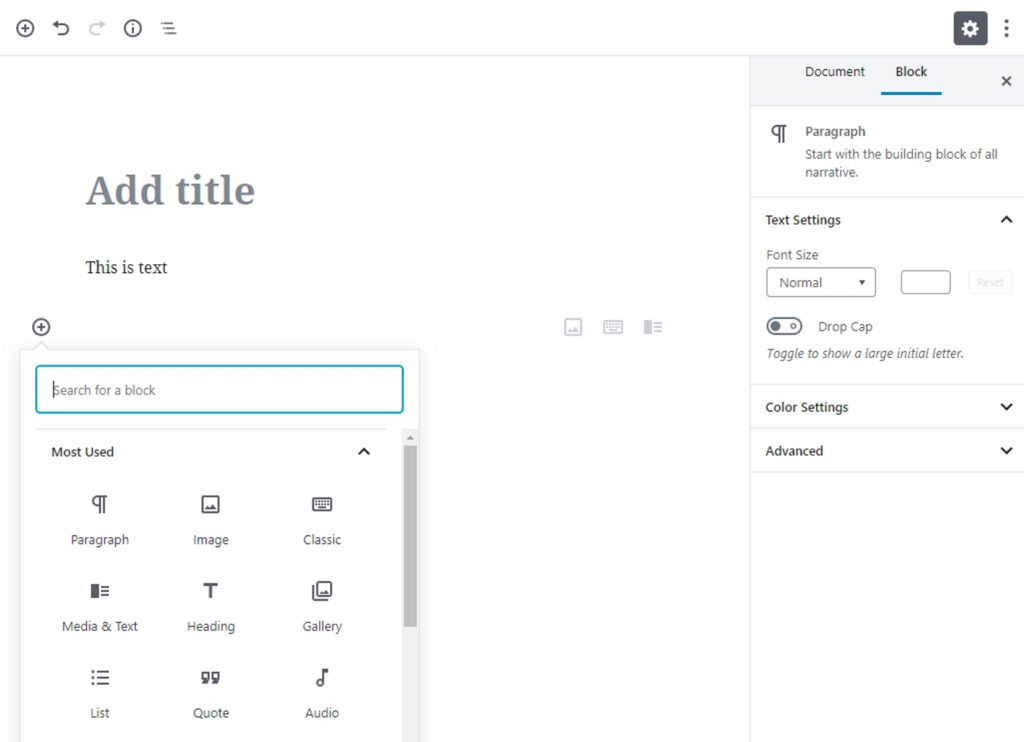
Modify Block Inserter’s Behavior
The block inserter ⏤ a panel for browsing and inserting multiple blocks at a time ⏤ is a new addition to the WordPress block editor. Designed to boost efficiency, the early version of this feature was actually disrupting users’ workflow. The panel would close after inserting a block, which forced users to keep reopening the panel for adding more blocks.
Thankfully, the WordPress community came together and fixed this problem. The latest version of the block inserter now remains open after inserting a block, thereby allowing users to insert multiple blocks at a time. And when you’re done with the block inserter, there’s a keyboard command to close the panel.
Use these keyboard shortcuts to take advantage of this new productivity tool:
- ENTER or SPACE: Inserts a block, but leaves the inserter open
- ⌘+Enter: Inserts a block, closes the inserter, and returns focus to the insertion point
- ESC: Closes the inserter without adding a block
Improve Your WordPress Site With Coalition Technologies
The block editor started on a rough patch with many accessibility and usability problems. But Gutenberg has come a long way from its initial launch. The open-source community has worked hard to upgrade the CMS and will continue to make improvements so that WordPress can become a platform for everyone.
If you need more assistance with developing WordPress websites, Coalition Technologies can help. With almost a decade of experience designing on WordPress and 200+ sites developed, we have the expertise you need to build highly engaging WordPress sites. Contact us now to learn how we can improve your online presence and help you optimize your WordPress site.